
If you have ever sewn a garment only to find that the lining or neckline facing keeps rolling forward and showing on the outside, you need a sewing technique called understitching. This simple line of stitching is the secret behind crisp edges and flat facings in professional fashion design.
In this guide, we discuss what understitching is, why it works, and how to execute it perfectly on your sewing machine. Getting a clean finish on fabric edges requires careful steps, just like selecting materials when choosing style options. If you are learning how to handle delicate components or alignments, reviewing structural principles like installing modern glass setups can show you the value of correct framing.
Table of Contents
What is understitching in sewing?
Understitching is a sewing technique where you press the seam allowance toward the facing or lining and stitch it down close to the seam line on the inside of the garment. This row of stitching is invisible from the right side of the fabric but holds the inner layers securely in place.
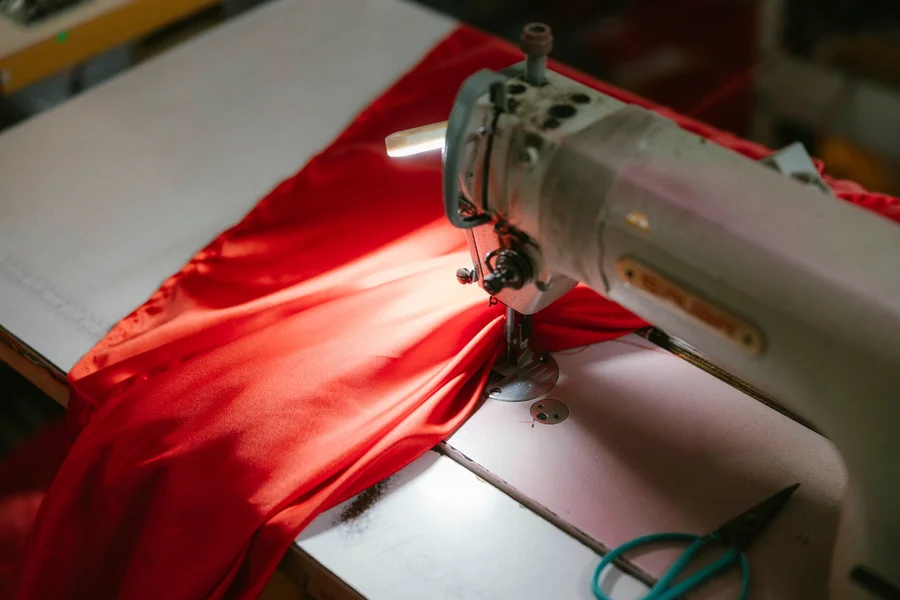
From what we’ve seen in custom garment projects, understitching is highly useful for curved areas. According to historical sewing manuals, adding this line of stitching keeps armholes, necklines, and pocket openings sitting flat against the body without any bulk showing along the borders.
One myth many beginner sewists believe is that pressing with a steam iron is enough to keep facings inside the garment. In fact, washing or wearing the clothing will quickly cause pressed edges to roll back out, which is why mechanical stitching is required to lock the layers in place permanently.
Why is understitching important for garments?
Understitching is important because it prevents facings from rolling, creates a clean rolled edge, and hides the stitching itself on the inside of the garment. It makes homemade clothes look like high-end store-bought items by keeping all internal seams invisible.
Here are three main benefits of adding understitching to your projects:
- Invisible Finish: Since the stitches are sewn only through the facing and seam allowance, no thread lines show on the outside of your garment.
- Flat Construction: It reduces the bulk along armholes and necklines, allowing the main fabric to drape naturally.
- Permanent Hold: The seam remains stable through multiple washes, saving you from constantly re-ironing your clothes.
In practice, utilizing this method saves time and improves quality. If you ever need to reinforce fabric joins or deal with structural tears, reviewing steps from professional building repair guidelines can teach you how to manage stress points in assembly layouts.
Step-by-step understitching tutorial
To understitch, first sew your facing to the garment, press the seam allowance toward the facing, and stitch a straight line one-eighth of an inch from the seam. Make sure you only sew through the facing and the seam allowance underneath.
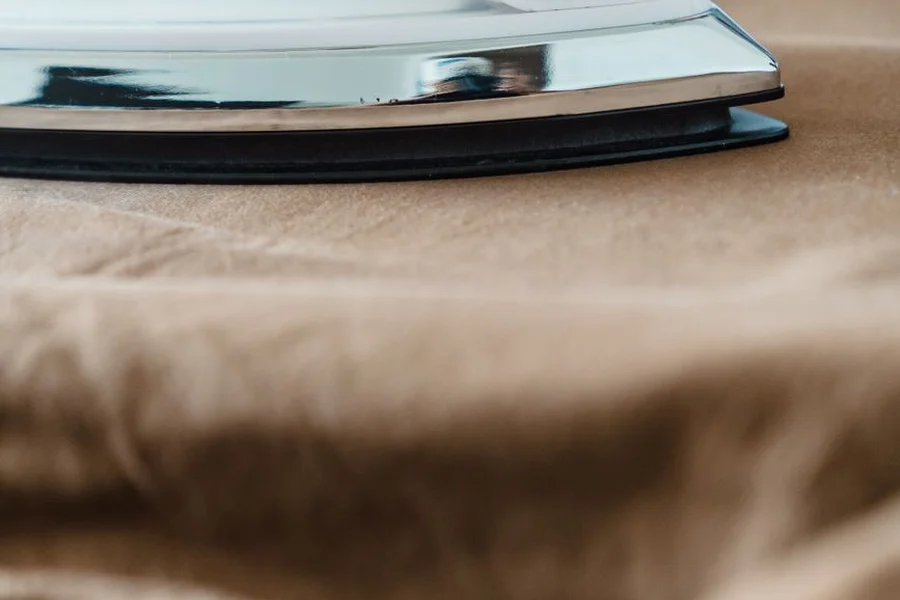
We prefer using a straight stitch length of two to two-and-a-half millimeters for this step. According to tailoring standards, stitching too fast or pulling the fabric can warp the neckline curve, so keeping a steady speed and guiding the fabric gently produces the neatest result.
Imagine you are finishing a summer dress made of lightweight linen. Taking the extra five minutes to understitch the neck facing guarantees that the lining will not peek out when you move your shoulders, keeping your pocket edges and folds looking polished all day.
Helpful tips for sewing smooth edges
Helpful tips for sewing smooth edges include clipping and grading the seam allowances on curves, using an edge-stitch foot for perfect alignment, and starting your stitches slightly away from tight corners. These steps prevent puckering and reduce bulk.
Here is an important warning based on common sewing mistakes: never catch the main outer garment fabric in your understitching line. One mistake we see beginners make is failing to pull the main fabric completely flat away from the facing while sewing, which creates small folds and puckers on the outside. To avoid this, always use your fingers to spread the seam open wide as it passes under the presser foot.
Frequently Asked Questions about Understitching
What is the difference between understitching and topstitching?
Understitching is sewn only on the facing and seam allowance on the inside of the garment to remain invisible. Topstitching is sewn on the right side of the main fabric through all layers as a visible decorative or structural line.
Do you need a special sewing foot to understitch?
No, a standard presser foot works perfectly. However, using an edge-stitch foot or a zipper foot can give you a better view of the seam line, helping you keep your stitches exactly one-eighth of an inch from the fold.
Can you understitch heavy fabrics?
Yes, but you should grade the seam allowances first by trimming one layer shorter than the other. Trimming reduces the thickness of the fabric layers, allowing the needle to pass through smoothly without breaking.
Written by Rosella
Rosella is a self-taught digital creator with a passion for breaking down tech, lifestyle, and everyday topics into simple, easy-to-understand content. Based in Youngstown, Ohio, she brings a curious, multi-disciplinary approach to writing, covering everything from the latest tech trends to practical life hacks and personal growth insights.
Her goal is straightforward: take complicated ideas and explain them in a way that actually makes sense, so every reader, whether a total beginner or someone more experienced, walks away having learned something useful. When she’s not writing, you’ll usually find her exploring new tools, sharpening her skills, or spending time with family.
Through this blog, Rosella aims to build a community centered on real, actionable insights rather than fluff, jargon, or filler content.