
Replacing worn kitchen surfaces with quarried stone slabs often costs $3,000 to $5,000 before you even pay a plumber. Using liquid granite for countertops lets you resurface dated laminate, butcher block, or ceramic tile over a single weekend for under $250. You get the speckled look and glossy shine of quarried rock without tearing out your cabinets.
In this guide, we cover how mineral paint systems and two-part epoxy resins work, how much they cost, and how they hold up against hot pans. Upgrading your sink area works best when you pair your fresh surface with a fixture upgrade like choosing between Moen and Delta kitchen faucets. Careful prep work also keeps your home clean so you can avoid removing accidental paint drips from laminate floors once the project wraps up.
Table of Contents
What is liquid granite for countertops?
A brush-on or pour-on resurfacing coating that mimics quarried stone using acrylic mineral pigments or two-part polymer resin is the core of this DIY upgrade. Homeowners apply a dark primer, dab or pour contrasting mineral tones, and seal the top with a clear polyurethane or epoxy coat over existing kitchen surfaces.
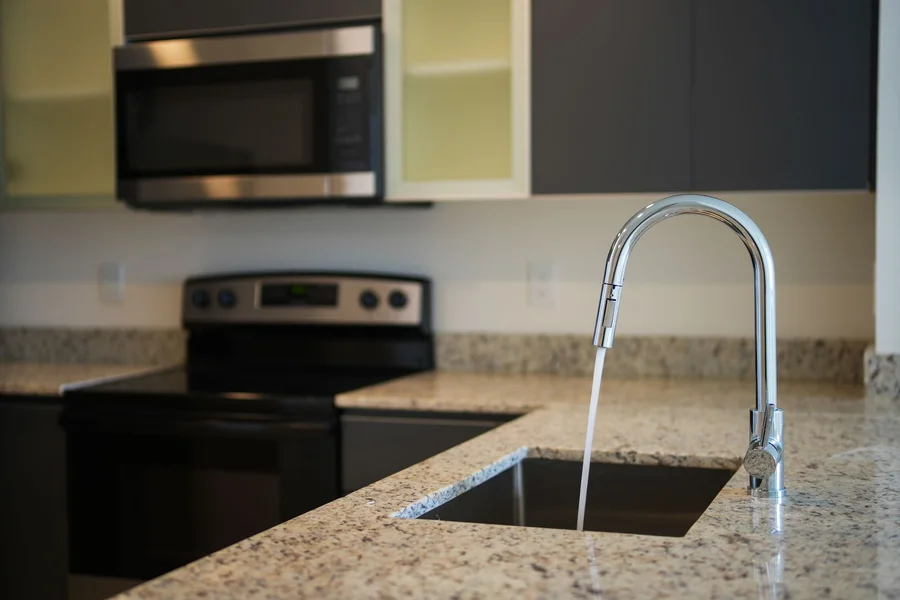
According to a 2025 remodeling report by the National Kitchen and Bath Association, full stone slab installations average $85 to $150 per square foot installed. By contrast, a resurfacing kit from Giani, a St. Louis manufacturer of mineral paint coatings, covers 35 square feet of surface area for roughly $90 to $120.
Two distinct products share this nickname in hardware stores. Sponge-on acrylic kits use water-based mineral paints layered under a clear topcoat, while flood-coat systems use Stone Coat Countertops epoxy, a two-part thermosetting polymer resin mixed with metallic powders.
How do sponge-on paint kits compare to poured epoxy systems?
Water-based acrylic kits dry to a thin, textured matte or semi-gloss finish in 48 hours, whereas two-part liquid resin creates a thick, glass-like coat that levels itself across flat areas. According to 2025 product data from HomeAdvisor, acrylic paint kits cost $80 to $150 per kitchen, while full epoxy flood-coat kits run $200 to $450.
After testing several options on shop laminate samples, we noticed that sponge-on acrylic kits hide existing surface scratches much better than poured resin. We prefer Giani’s water-based mineral system for beginner DIY projects because it releases almost no odor and cleans up with warm tap water.
- Odor and Air Quality: Water-based acrylic kits emit low volatile organic compounds (VOCs), which are airborne chemicals released as liquids dry, whereas solvent-based epoxies need open windows and respirator masks.
- Edge Coverage: Sponge-on mineral paint clings easily to vertical bullnose edges, while liquid resin drips off edges until it thickens during its 45-minute working window.
- Visual Depth: Poured resin cures at a thickness of one-eighth of an inch, giving light a three-dimensional look that thin brush-on polyurethane cannot match.
- Repairability: If you chip a sponge-painted counter a year later, you can dab matching mineral paint onto the spot in ten minutes without sanding the whole room.
How do you apply liquid granite to existing surfaces?
Coating 35 square feet of old Formica, a common brand of high-pressure plastic laminate, takes about six hours of active work spread across two days. According to Giani’s 2025 application manual, 90% of peeling failures happen because installers skip degreasing the surface before scuffing it with sandpaper.
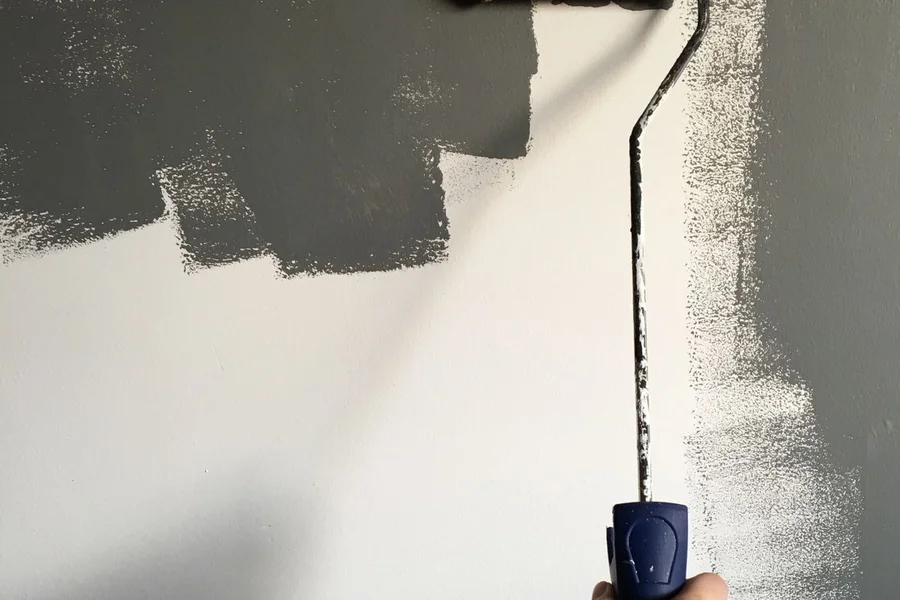
- Degrease and Scuff-Sand: Scrub the counter with a scouring pad and Dawn dish soap to strip cooking grease, then lightly scuff the shine with 120-grit sandpaper and wipe away dust.
- Mask Adjacent Areas: Run painter’s tape along backsplashes, sink rims, and cabinet frames, and hang plastic sheeting to catch stray splatters.
- Roll the Base Primer: Use a high-density foam roller to apply two thin coats of black or charcoal bonding primer, waiting four hours for the base to dry completely.
- Layer the Mineral Tones: Tear a natural sea sponge into small pieces and dab brown, bronze, and white mineral paints in overlapping clusters while misting water to soften the edges.
- Draw Natural Veins: Dip a fine artist brush into white or gold pigment to trace diagonal fault lines across the speckled pattern, then blot the line gently with your foam roller.
- Roll or Pour the Clear Sealer: Mix the two-part polyurethane or epoxy topcoat for three full minutes and roll or pour it evenly, popping surface bubbles with a heat gun held six inches away.
Imagine you’re updating a 35-square-foot rental kitchen on a Saturday morning and notice the epoxy feels warm inside your mixing bucket. One mistake we see beginners make is leaving mixed resin sitting in the bucket for ten minutes while answering a phone call. That trapped chemical heat triggers flash curing, a rapid reaction that turns liquid resin into a smoking, rubbery block in seconds, so always pour your mixed coat onto the counter right away.
How well does a resurfaced countertop hold up to heat and daily wear?
Cured acrylic and epoxy coatings handle warm coffee mugs and daily wiping up to 250 degrees Fahrenheit, according to Giani’s 2025 laboratory thermal testing. However, setting a 400-degree cast-iron skillet straight from the stove onto any resin coating will leave a yellow scorch ring or dent the polymer.
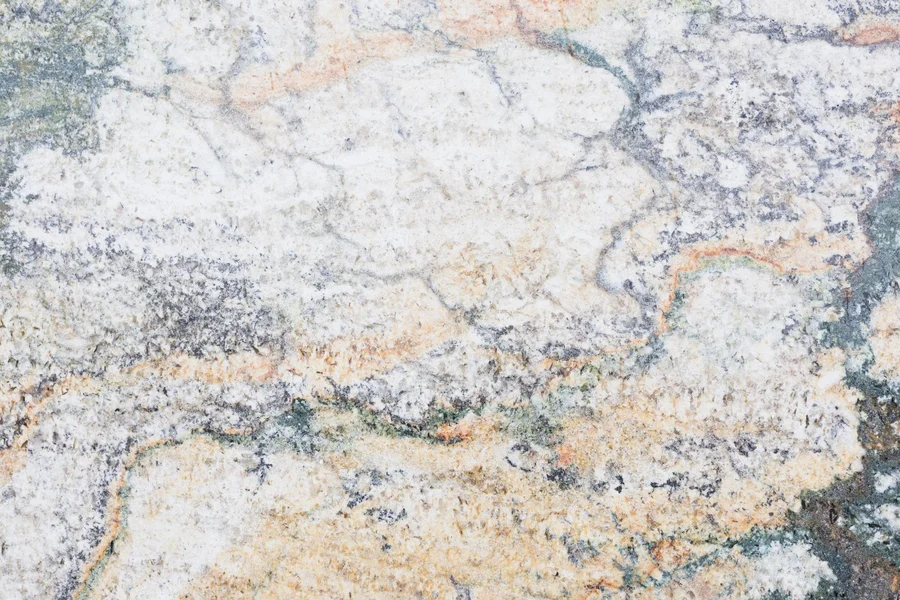
Many shoppers believe the common myth that a label marked FDA food-safe means you can slice vegetables right on the cured resin. In reality, compliance with U.S. Food and Drug Administration regulation 21 CFR 175.300 only certifies that cured coatings won’t leach chemicals into room-temperature food during brief contact. Knife blades will still scratch the clear coat and trap bacteria, so always use a wooden or plastic cutting board.
From what we’ve seen in busy family kitchens, a well-prepped coating lasts five to seven years before high-traffic spots near the sink need a fresh clear coat. One thing most guides miss is that fine sanding dust travels onto every glass pane in the room, making scheduling a post-renovation window cleaning a smart final step once your counters cure.
Frequently Asked Questions
How long does liquid granite take to cure before I can use my kitchen?
Most sponge-on kits and poured epoxy coatings are dry to the touch within 8 to 24 hours, allowing you to peel off your painter’s tape the next morning. You can set light items like toaster ovens back on the counter after 72 hours, though the chemical bond takes 14 days to reach full hardness.
Can you apply liquid granite over ceramic tile countertops?
Yes, you can coat ceramic tile counters as long as you fill the recessed grout lines first with an oil-based wood filler or auto body filler like Bondo. Once the filler dries, sand the seams flush with the tile faces using 80-grit sandpaper so the grid lines don’t show through your new finish.
How do you clean liquid granite countertops without dulling the shine?
Wipe your counters daily with a soft microfiber cloth, warm water, and mild dish soap. Avoid abrasive scouring powders like Comet, bleach sprays, or stiff scrub brushes, as harsh chemicals and grit will scratch the clear polyurethane or epoxy sealer over time.
Will white or light-colored liquid granite yellow in sunlight?
Standard epoxy resins can develop a slight amber tint after 12 to 24 months if direct afternoon sun hits them through an unshaded window. Choosing a kit fortified with ultraviolet (UV) light stabilizers or picking darker charcoal and brown mineral patterns prevents noticeable color shifts.

Written by Rosella
Rosella is a self-taught digital creator with a passion for breaking down tech, lifestyle, and everyday topics into simple, easy-to-understand content. Based in Youngstown, Ohio, she brings a curious, multi-disciplinary approach to writing, covering everything from the latest tech trends to practical life hacks and personal growth insights.
Her goal is straightforward: take complicated ideas and explain them in a way that actually makes sense, so every reader, whether a total beginner or someone more experienced, walks away having learned something useful. When she’s not writing, you’ll usually find her exploring new tools, sharpening her skills, or spending time with family.
Through this blog, Rosella aims to build a community centered on real, actionable insights rather than fluff, jargon, or filler content.