One thing that worries a lot of people about vaping is that reusable vape devices require quite a lot of maintenance. This includes cleaning vape coils and tanks, and while it may seem like a hassle, reusable vapes are a much better alternative to both cigarettes and disposable vapes. Although they impact your health in virtually the same way as disposable vapes, they’re the much more affordable option. In fact, even though disposable vapes are the most expensive form of vaping, they’re still significantly cheaper than cigarettes. This array of benefits means that learning how to maintain a reusable vape is well worth your time.
Table of Contents
Disassemble The Atomizer
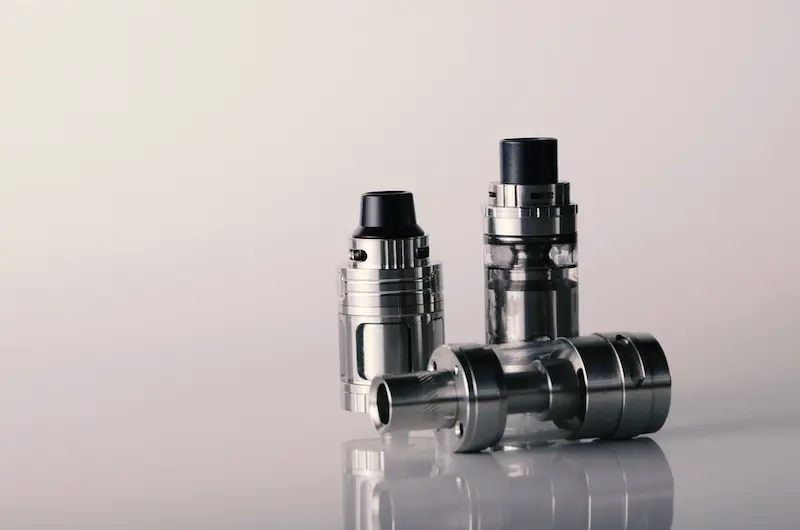
The first step of cleaning a vape tank and coil is disassembling the atomizer. This involves unscrewing the glass and top components, including the base, coil head, glass tube, top cap, and drip tip. In order to break the vacuum seal of the tank, you’ll need to grab the base in one hand and the glass in the other and twist both of them. This allows you to carefully remove all the components.
Clean The Tank With Hot Water
Once the tank has been disassembled, it can be cleaned with hot water. Make sure you remove all seals and O-rings before you place the components in hot water. Following this, leave the components in the hot water until it cools to room temperature. It’s then time to scrub the components with a toothbrush or pipe-cleaning brush.
Add A Secondary Agent
It’s likely that water won’t be enough to thoroughly clean your tank, which is why a secondary agent is typically required. These secondary agents include baking soda in solution, vodka or ethanol alcohol, propylene glycol, vinegar, or lemon juice. Leaving the components to soak in any of these solutions for two to three hours should do the trick before a quick rinse.

Dry The Tank
In order to dry the tank, you can pat the components dry with a paper towel or even put your hairdryer on the cool setting to give them a blast.
Clean The Coil Heads
Next comes the process of cleaning your coil heads. If these have been completely worn, it may not even be worth cleaning them; however, you can make this judgment by running the coil head under the tap. If the wick appears slightly cleaner, it’s worth continuing; however, if it’s completely black, it’s likely too burned.
To continue the cleaning process, grip the coil head with something like pliers and run it under the hot tap for two minutes. Then, fill a bowl with one of the aforementioned cleaning agents and allow the coil head to soak overnight. Following this, run it under the hot tap for two to three minutes and rinse it in a bowl of distilled water. Next, blow through the coil head to remove excess water and allow it to stand until dry.
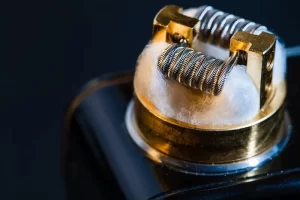
Clean The Coil On The Rba
Once the coil head is clean, you can then go about cleaning the coil itself. This means removing the wick, drying the coils at a low heat to remove excess liquid, removing the atomizer, and removing the coils. Following this, you can run the coils under the hot tap and brush them softly with a toothbrush. Then, you can hold them under the tap until the residue rises away. After this, the rinsed coils can be reinstalled and heating them gently to remove the water. Finally, the wick can be reinstalled before soaking and, ultimately, vaping.
Regular maintenance such as this keeps your vape in good condition.

